Hay Baling Where the Sun Don’t Shine. The Wet Side Guide.
Hay baling west of the Cascades isn’t impossible—but anyone who tells you it’s easy hasn’t spent much time watching marine layers roll in just as their hay was getting crisp. After 20+ years of making hay in Oregon and Washington, I’ve learned that success here isn’t about fighting our climate. It’s about working with it.
Here’s the reality: most smart farmers I know don’t even try to make dry hay from their first cutting anymore. That early spring growth is perfect for haylage, but trying to dry it in May or June is often a recipe for frustration. The real opportunity for quality dry hay comes with second cutting in July and August, when our weather actually cooperates.
The key is getting that first cutting off early—before your grass gets too mature and becomes impossible to work with. Then you can focus your dry hay efforts when conditions are actually in your favor.
The First Cutting Reality in Pacific Northwest
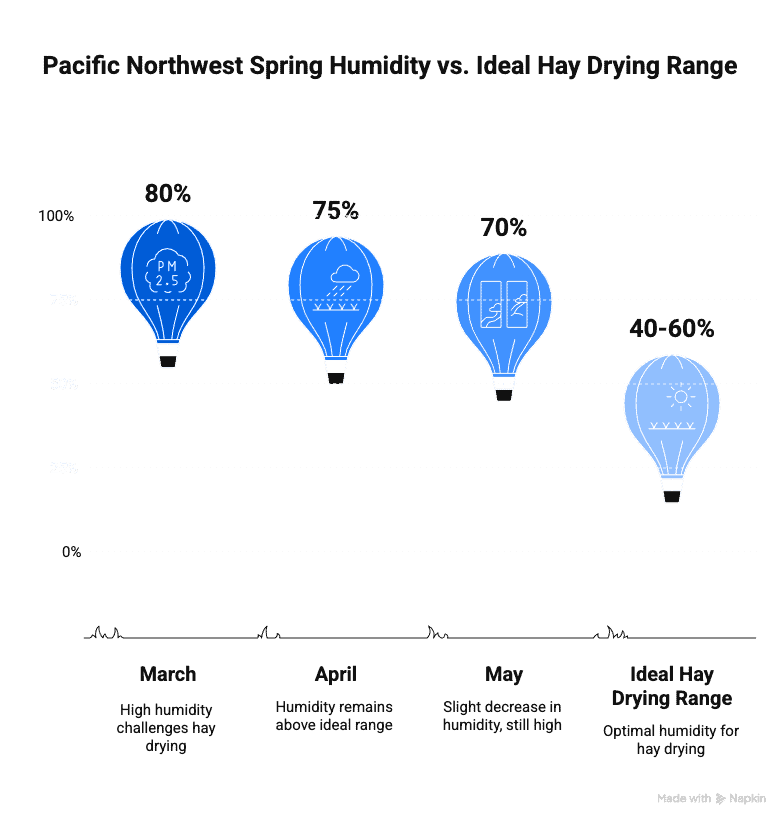
Let’s be honest about first cutting: it’s a challenge. Not because it can’t be done, but because everything is working against you. Your grass is growing fast, moisture content is high, and weather windows are unpredictable at best.
The maturity trap is what gets most people. You wait for better weather, hoping for that perfect three-day window, and meanwhile your grass keeps growing. What started as leafy, high-quality forage turns into stemmy, mature plants that take forever to dry and produce mediocre hay even when they do.
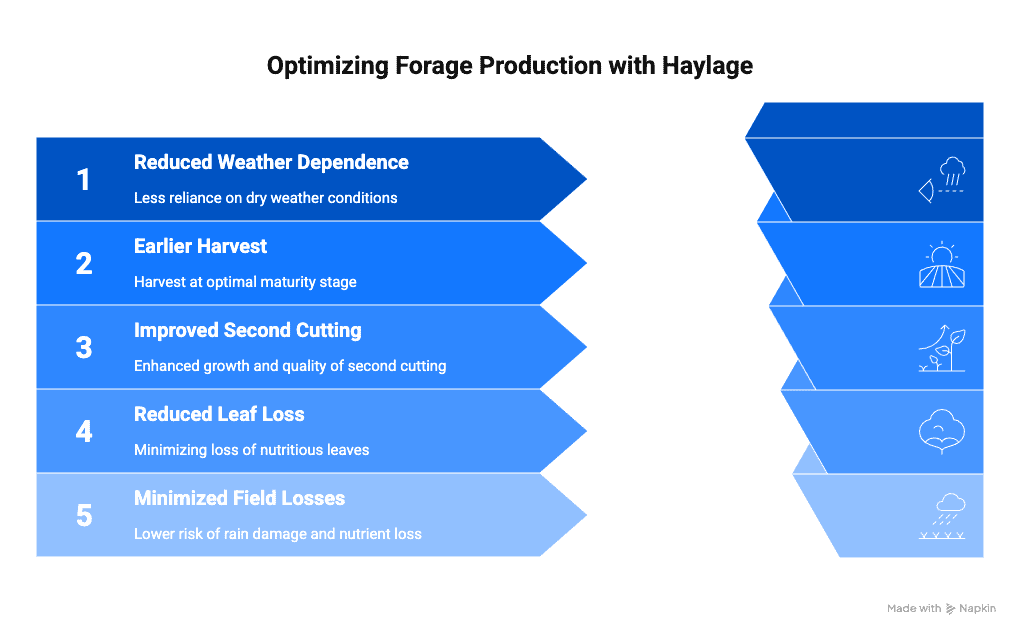
Smart farmers have figured out a better approach: make that first cutting into haylage. Here’s why this makes sense:
High moisture actually works in your favor with fermentation. Instead of fighting to get moisture down to 15-18%, you’re targeting 60-70% moisture—something you can achieve reliably even in our spring conditions. You get weather flexibility that dry hay simply doesn’t offer. Cut today, chop tomorrow, and you’re done regardless of what the marine layer does.
More importantly, you preserve the quality of young, leafy forage. That early spring growth has the best nutrition—protein levels you’ll never see again until next spring. Capturing that in haylage keeps those nutrients instead of watching them decline while you wait for drying weather.
Getting your first cutting off early sets you up for success on the second cutting too. Instead of being stuck with over-mature first cutting that you’re trying to salvage in July, you have nice regrowth that’s at the perfect stage for dry hay when weather conditions are actually favorable.
I’ve watched too many farmers spend weeks fighting their first cutting, only to end up with mediocre hay and a second cutting that’s too advanced to be any good. The calendar doesn’t stop because your hay isn’t cooperating.
Modern Equipment Makes the Difference
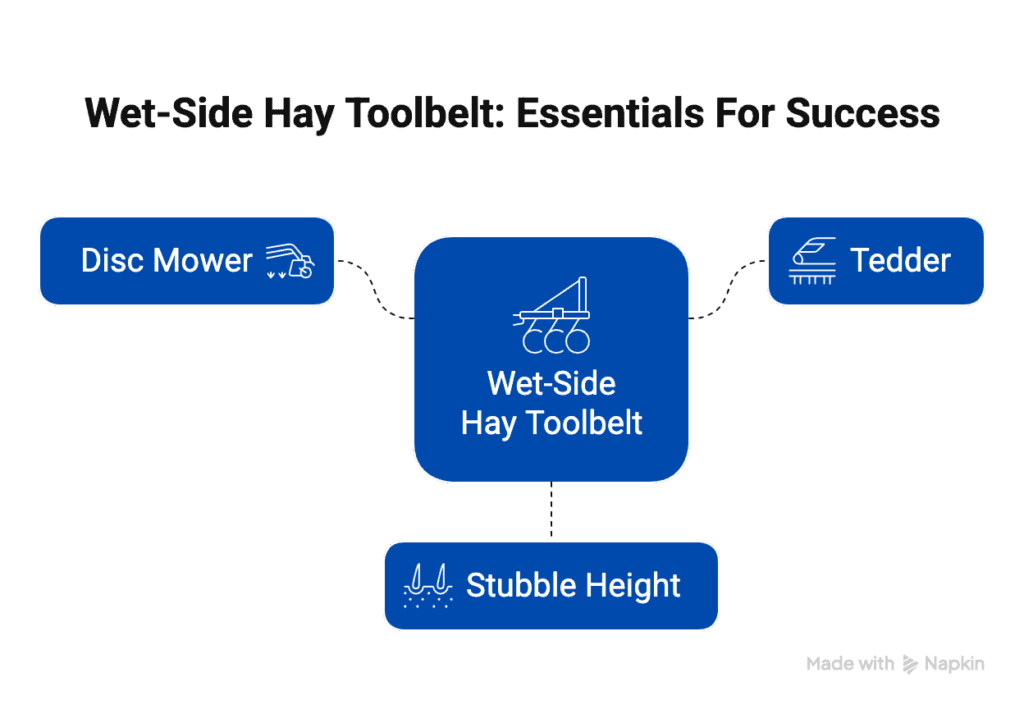
The hay equipment game has changed dramatically since farmers first started baling. If you’re still running a sickle bar mower and thinking tedders are optional, you’re making this harder than it needs to be.
Disc mowers are essential for any serious hay operation here. The clean cut and wider swath spread makes a measurable difference in drying time. Add conditioning—crimping or crushing the stems—and you’re looking at hours saved in field drying time. While conditioning isn’t absolutely required, every bit of stem conditioning helps moisture escape faster.
But here’s where the real game-changer comes in: a dedicated tedder. When the WSU research I reference was done in 2001, good tedders weren’t common on smaller operations. Now they’re one of the best investments you can make.
With a modern tedder, you follow your mower as soon as the sun’s out and dew has burned off. You’re not waiting around—you’re actively managing the drying process. A good tedder lets you cover ground faster and make multiple passes throughout the day as conditions allow.
The old advice about moving hay around manually? Forget it. A good tedder spreads hay evenly across the cutting width. You’re not fighting clumps or trying to redistribute manually. The tedder does the work of fluffing and spreading, exposing more surface area to sun and air movement.
Cutting height matters too. You need at least 4 inches of stubble to create a drying platform that keeps your hay off the wet soil surface. Cut too low and you’re essentially drying hay on a damp sponge. Leave enough stubble and your cut hay sits on a platform that allows air circulation underneath.
The equipment doesn’t have to be fancy, but it needs to be appropriate for the job. A disc mower and good tedder will save you more time and frustration than any other equipment upgrade you can make.
Second Cutting Hay Baling Success Strategy
This is where Pacific Northwest farmers can actually compete with anyone. July and August give us weather conditions that work in our favor—warmer temperatures, lower humidity, and more predictable patterns.
By the time second cutting comes around, you’re working with ideal conditions. Your grass has regrown to the perfect stage—not the over-mature stems you’d be fighting if you’d delayed first cutting. Weather windows are more reliable, with higher temperatures and longer drying periods.
The strategy shifts to aggressive field management. You cut smaller sections that you can handle within your weather window. With good tedding equipment, you can afford to be more aggressive about working the hay throughout the day.
Here’s how a successful second cutting typically goes:
Day One starts early. Cut by 8 AM if conditions allow, and have your tedder ready to follow. Once dew burns off, you’re tedding. Good equipment lets you make multiple passes as the day progresses—spreading, fluffing, exposing new surfaces to air and sun.
Day Two continues the aggressive tedding if needed, but you’re looking for windrow opportunities. In July and August heat, you often have hay ready to windrow by afternoon of the second day. The key is monitoring moisture and being ready to move when conditions are right.
Day Three is baling and removal. Get those bales off the field the same day. Even in summer, overnight dew can set you back.
The beauty of second cutting is that you have genuine weather windows to work with. Spring weather changes hourly; summer weather gives you days to execute your plan.
Second cutting also produces consistently better quality hay than trying to force first cutting through marginal conditions. The nutrition is good, the stems are the right maturity, and you’re not fighting the calendar.
What I’ve learned over the years is that patience with first cutting and aggression with second cutting produces better overall results than fighting uphill battles all season long.
Square vs Round Bales: The Real Trade-offs

The choice between square and round bales in our climate comes down to understanding the real trade-offs, not just equipment preferences.
Square bales offer a larger margin for error, which matters when you’re learning moisture management. The smaller bale size means better air circulation during storage. More importantly, square bales get extra drying time during the pickup and stacking process—sometimes enough to save hay that was baled slightly wet.
But there’s no getting around the labor reality. Picking up and stacking thousands of square bales is hard work. It takes time, and time means weather exposure. I’ve seen good hay get rained on because pickup couldn’t keep pace with afternoon storms.
Round bales solve the labor problem but create a different challenge. You can clear the field fast, getting hay under cover before weather changes. The efficiency is undeniable.
However, round bales offer less forgiveness. The density means less air circulation. Moisture problems that might work themselves out in square bales can turn into heating and mold issues in rounds. You need to be more precise with your moisture management.
Here’s what I tell farmers starting out: if you’re learning the system, square bales give you more room for error. The extra handling and drying time during pickup often makes the difference between success and failure.
But if you’ve got your moisture management dialed in and need efficiency, rounds make sense. Just understand that you’re working with tighter tolerances.
Many of our customers start with squares for the learning curve, then transition to rounds as they get comfortable with the timing and moisture management aspects.
Modern Moisture Management Tools
Technology has given us better tools for the old challenge of moisture management, but it’s important to understand what these tools can and can’t do.
Electronic moisture meters have improved significantly over the past decade. Field-ready units give you instant feedback on moisture content throughout the drying process. They’re not perfect—still need calibration and common sense—but they’re much more reliable than trying to judge by feel alone.
Baling additives represent a newer option for borderline situations. These are typically organic acids or mold inhibitors applied during baling. The theory is sound—create conditions that prevent heating and mold formation in hay that’s slightly wetter than ideal.
I’ve seen additives work in borderline situations, particularly with square bales where you have a little extra drying time built into the system. They’re not magic, but they can provide insurance when you’re caught between marginal moisture and changing weather.
The cost-benefit calculation depends on your situation. If you’re talking about saving a significant amount of hay that would otherwise be lost, additives make economic sense. If you’re using them regularly instead of proper drying, you’re treating symptoms instead of the problem.
Here’s my take on additives: they’re a tool, not a substitute. Use them when weather forces your hand, but don’t plan around them. Proper drying is still your most reliable path to quality hay.
The moisture testing equipment is worth the investment. Having objective data about moisture content removes guesswork from critical decisions. In our climate, those decisions often make the difference between success and expensive failures.
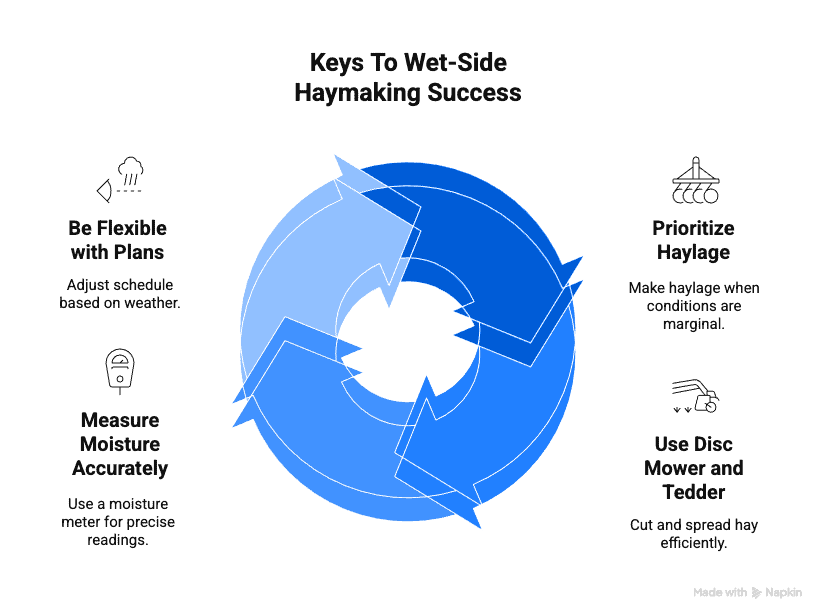
Weather Strategy for Reliable Success
Success in Pacific Northwest hay making comes down to working with our weather patterns instead of against them. This means both seasonal strategy and daily tactics.
Seasonally, the haylage-first, dry hay-second approach matches our climate reality. Spring provides the growth and moisture conditions perfect for fermentation. Summer provides the heat and humidity levels that make dry hay feasible.
Daily weather management still requires attention to barometric pressure and forecast details. Track building high-pressure systems and plan your cutting around them. Start your cutting cycle at the begiing of high pressure, not the middle or end.
Field management means cutting only what you can handle within your weather window. It’s better to make three successful smaller cuttings than one failed large one. With modern equipment, you can afford to work smaller sections because your efficiency is higher.
Equipment readiness between cuttings is crucial. Use the gap between first and second cutting for maintenance and repairs. Nothing ruins a good weather window like a breakdown when conditions are perfect.
The backup plaing mindset is essential. Always have a Plan B. If weather deteriorates during second cutting, are you prepared to switch to haylage? Having chopping capability available gives you options when dry hay windows disappear.
What I’ve learned is that flexibility beats stubboress every time. The farmers who succeed here are the ones who read conditions well and adjust their plans accordingly.
Storage and Quality Preservation

Getting hay baled is only part of the job. In our humid climate, storage management can make or break your quality.
Get bales under cover immediately. Our overnight dew and frequent weather changes mean that hay left in the field deteriorates rapidly. Even in August, morning moisture can restart mold processes in bales that were perfectly dry when made.
Ventilation is critical in covered storage. Don’t pack bales tight immediately after baling. Allow air circulation for the first few weeks while bales go through their natural “sweat” period. This is especially important with round bales, where internal heat buildup can become dangerous.
Temperature monitoring takes the guesswork out of storage management. A simple thermometer probe lets you track internal bale temperatures during the critical first month. Temperatures consistently above 120°F indicate problems that need immediate attention.
For outdoor storage, keep bales off the ground and provide weather protection. Pallets, gravel pads, or dedicated hay cribs prevent ground moisture from wicking into bottom bales. Tarps or hay sheds protect from direct precipitation.
The investment in proper storage pays dividends in reduced losses and consistent quality. I’ve seen farmers lose more hay value to poor storage than they save in storage costs.
Making It Work: Practical Takeaways
After 20+ years of making hay in Oregon and Washington, here’s what consistently works:
Embrace the seasonal reality. First cutting goes to haylage. Second cutting becomes your dry hay crop. This approach works with our climate instead of fighting it.
Invest in proper equipment. A disc mower and dedicated tedder aren’t luxuries—they’re essentials for efficient operations in our conditions. The time and frustration savings justify the investment quickly.
Time your first cutting early. Don’t wait for perfect hay weather in May. Get that first growth off while it’s young and set yourself up for successful second cutting.
Be aggressive with second cutting. When summer weather gives you opportunities, take advantage. Use multiple tedding passes and move quickly from cutting to storage.
Monitor moisture objectively. Electronic testing removes guesswork from critical decisions. In our climate, small moisture differences can mean the difference between success and expensive mistakes.
The Pacific Northwest can produce excellent hay, but it requires understanding our unique conditions and working with them rather than against them. The farmers who succeed here are the ones who’ve learned to read our weather patterns, use appropriate equipment, and time their operations for maximum advantage.
Making quality hay west of the Cascades isn’t about luck—it’s about understanding the system and executing consistently. With the right approach, you can produce hay that competes with anything coming from drier climates.
Questions about optimizing your hay operation for Pacific Northwest conditions? [Contact us](/contact-us/)! We’ve been helping farmers in Oregon and Washington succeed [for over 20 years](/about-us/), and we understand what works in our unique climate.
Written by Jeremy Linder
I grew up on a working farm with parents who manufactured machinery. I've been selling tractors and implements since 2014, and I run my own 20 acres plus help manage our family's 200-acre beef operation. Everything I recommend is something I'd put on my own property.
Get equipment tips in your inbox
No spam. Unsubscribe anytime.
You're in!
Thanks for subscribing. Talk soon.